
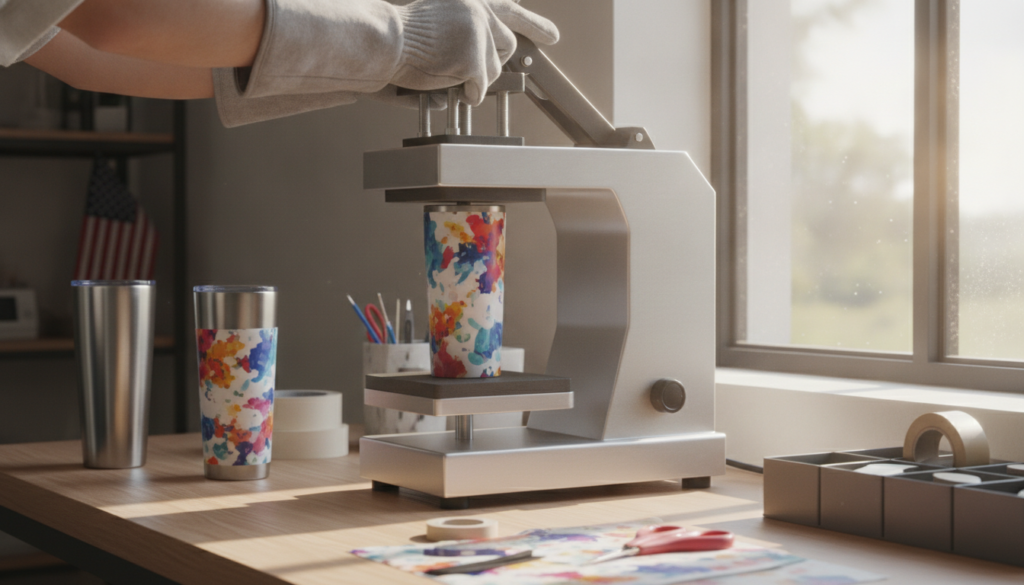

The world of custom drinkware has exploded across the USA, transforming simple tumblers into personalized statements and lucrative small business ventures. At the heart of this creative boom lies the tumbler heat press—a specialized tool promising vibrant, long-lasting designs. Yet, for many, navigating the intricacies of sublimation, from precise temperature settings to securing a flawless full-wrap design, can feel daunting. Achieving professional-grade results consistently requires more than just owning the equipment; it demands a methodical approach to preparation, execution, and troubleshooting. This comprehensive guide peels back the layers of the sublimation process, offering a detailed pathway to mastering your tumbler heat press. It ensures every custom piece, from a glow-in-the-dark novelty to a sleek 20-ounce skinny tumbler, showcases impeccable craftsmanship.
Imagine the frustration of investing in supplies and time, only to encounter faded colors, blurred images, or unsightly seams on your meticulously chosen blanks. The market, while abundant with options and advice, often lacks the precise, step-by-step clarity needed to truly excel. Whether one is a passionate hobbyist or an entrepreneur aiming to scale a custom product line, the quest for perfection in sublimation hinges on understanding the nuances of the heat press. This article serves as your indispensable resource, meticulously detailing each stage of the journey, from selecting the right supplies to finessing the final peel. It aims to demystify complex settings and common pitfalls, providing the confidence to produce stunning, durable custom tumblers that stand out in any collection or storefront.
Mastering the Tumbler Heat Press for Flawless Creations
The tumbler heat press stands as a cornerstone for anyone venturing into custom drinkware, offering a reliable method to imprint designs that resist fading and wear. This dedicated machine ensures consistent heat and pressure, two critical elements for sublimation ink to bond permanently with specially coated tumblers. Unlike traditional methods, a heat press provides uniformity across the cylindrical surface, significantly reducing the likelihood of imperfections. For both burgeoning entrepreneurs and seasoned crafters, understanding this apparatus is the first step toward creating high-quality, personalized items that capture attention.
Essential Gear for Successful Tumbler Sublimation
Embarking on tumbler sublimation requires a specific collection of tools and materials, each playing a crucial role in the outcome. A dedicated tumbler press, designed specifically for cylindrical items, is paramount. These presses feature a curved heating element that wraps snugly around the tumbler, ensuring even heat distribution. For example, some popular models accommodate blanks ranging from 2.64 inches to 3.43 inches in diameter, suitable for 16 oz, 20 oz, and 30 oz straight-wall tumblers, and even certain mugs. They typically reach maximum temperatures of 464 degrees Fahrenheit and can be set for up to 999 seconds, covering most sublimation requirements.
Beyond the press, a sublimation printer, loaded with sublimation ink and paired with high-quality sublimation paper, is non-negotiable for producing vibrant transfers. Essential safety and handling accessories include heat-resistant gloves to protect hands from scorching surfaces, and a heat-resistant mat to safeguard workspaces. Furthermore, heat-resistant tape is vital for securing designs tightly to prevent shifting, while protective paper acts as a barrier to catch any excess ink. A lint roller ensures the tumbler surface is immaculate before application, a small but critical detail for a flawless finish.
Calibrating Your Heat Press for Optimal Performance
Properly setting up and calibrating your tumbler heat press is a methodical process that directly impacts the quality of your sublimation. Begin by adjusting the press to achieve the desired pressure. With the press cold, insert a tumbler and turn the black adjustment knobs on both sides simultaneously until a firm, even pressure is achieved when the press is closed. The goal is to minimize any gap across the top, ensuring full contact with the heating element. This balanced pressure is key to preventing faded spots or uneven transfers.
Once the physical adjustments are made, focus on the electronic settings. Plug in the press and power it on. To switch between Celsius and Fahrenheit, hold the ‘set’ button for five seconds until ‘AL1’ appears, then repeatedly press ‘set’ until ‘CTR’ is displayed. Toggle between ‘1’ for Fahrenheit and ‘0’ for Celsius using the arrow buttons, then hold ‘set’ for five seconds to confirm. For setting time and temperature, press ‘set’ once; the temperature will flash, allowing adjustment with the arrows. Press ‘set’ again, and the time will flash, allowing for similar adjustment. Holding the arrow button accelerates the process. After setting, press ‘set’ one last time, and the press will begin heating, displaying its current temperature until it reaches your programmed target.
Crafting Custom Tumblers: A Step-by-Step Sublimation Workflow
Creating custom tumblers with a full-wrap design is a precise art, especially for popular items like the 20-ounce skinny tumbler. Every step, from preparing your blank to the final peel, influences the vibrancy and durability of the design. A careful, methodical approach ensures that each tumbler reflects professional craftsmanship, making it a truly desirable item for personal use or sale. This detailed workflow is designed to minimize errors and maximize the visual impact of your creations.
Preparing Your Tumbler and Design for Transfer
The foundation of a perfect sublimation begins with meticulous preparation of both the tumbler and its design. Start by thoroughly cleaning the tumbler surface with a lint roller to remove any dust or debris, then wipe it with alcohol to eliminate oils or fingerprints that could hinder ink transfer. It is crucial to ensure the tumbler is completely dry before proceeding. For the design itself, print it from a sublimation printer using sublimation ink on sublimation paper, always remembering to mirror the image; otherwise, the final design will appear reversed. Trimming any excess white space around the print can help achieve cleaner edges on the finished product.
To apply the sublimation print, position the tumbler on a flat surface, allowing the bottom edge of your print to rest steadily on the table. This technique helps maintain a straight alignment as you carefully wrap the design around the tumbler. Once positioned, secure the print tightly with heat-resistant tape along the entire seam. Further secure the top and bottom edges with additional pieces of tape to prevent any movement during the pressing process. For an added layer of protection and to prevent potential ink bleed onto your press, wrap the taped tumbler with a strip of protective paper, aligning its seam with that of your design for consistent orientation within the press.
Pressing Techniques for Flawless Full Wraps
With your tumbler meticulously prepared, the actual pressing demands precise execution to achieve a flawless full-wrap design. Once the heat press reaches the set temperature—typically around 360 degrees Fahrenheit for 20-ounce skinny tumblers—carefully insert the tumbler into the press, ensuring the seam faces upwards. Close the press, which will automatically start the timer for your chosen duration, commonly around 50 seconds for the first side. It is essential to wear heat-resistant gloves when handling the hot tumbler as it emerges from the press. Open the press, rotate the tumbler approximately 180 degrees so that the unheated section is now positioned over the heating element, and close the press again for a second cycle of the same duration.
This dual-pressing method ensures that any small gap or area that didn’t receive optimal heat during the first cycle is fully sublimated, guaranteeing a complete and even transfer across the entire surface. Once the second press concludes, open the machine, retrieve the extremely hot tumbler using your gloves, and immediately place it on a heat-resistant mat to cool slightly. As the tumbler cools, carefully remove the protective paper, then gently peel away the sublimation print to reveal your vibrant, custom design. A methodical inspection at this stage confirms the success of the transfer, ensuring no ghosting or un-pressed areas remain.
Beyond Tumblers: Expanding Your Craft with a Heat Press
While the focus often rests on tumblers, a versatile heat press can unlock a broader spectrum of creative possibilities. Expanding beyond the standard cylindrical blanks allows crafters to diversify their product offerings or simply explore new artistic avenues. The same fundamental principles of heat, pressure, and time apply, but with slight adjustments tailored to different shapes and materials, the potential for personalized items grows significantly.
Sublimating Mugs: Dual Pressing and Handle Considerations
Your tumbler press can also become a mug press, transforming plain ceramic into personalized keepsakes. To adapt the press for mugs, adjust the diameter and pressure using the side knobs, ensuring a snug fit for one or even two mugs. A key consideration is the mug handle, which will necessarily protrude from the press. This means that any design under the handle will not be sublimated, a limitation that typically requires an oven for full-wrap handle-to-handle designs. For standard mug sublimation, designs are usually confined to the main body, stopping on either side of the handle.
The process for mugs mirrors that of tumblers: wrap your sublimation print around the mug, securing it with heat-resistant tape. Recommended settings often hover around 360 degrees Fahrenheit for 200 seconds, but specific blanks may vary. Insert the wrapped mugs into the adjusted press, close it, and allow the timer to run. Once complete, carefully remove the hot mugs with gloves and let them cool before peeling back the protective paper and sublimation print. This method efficiently produces custom mugs, making it an excellent addition to any crafting or small business repertoire.
Exploring Specialty Blanks: Glow-in-the-Dark, Heat, and UV Changing
The innovation in sublimation blanks continues to captivate, with specialty tumblers offering dynamic, interactive designs. These blanks, while appearing standard at first glance, reveal hidden properties that add an exciting dimension to custom drinkware. The beauty is that the same fundamental pressing techniques applied to standard 20-ounce skinny tumblers generally apply to these unique variations, making them accessible to any crafter already familiar with the process.
Consider the allure of glow-in-the-dark tumblers, where designs with white or light areas absorb light and emit an eerie glow when darkness falls, perfect for themed events or late-night sips. Heat-color-changing tumblers provide a fascinating transformation; for instance, a blue tumbler might reveal a pink hue as a hot beverage is poured in, only to revert to blue as it cools. Similarly, UV color-changing tumblers react to sunlight, shifting from a subtle indoor shade, like white, to a vibrant outdoor color, such as pale blue, when exposed to UV rays. These specialty blanks not only elevate the aesthetic appeal but also offer engaging experiences, making them highly desirable items in 2026’s custom merchandise landscape.
Strategic Equipment Choices for American Crafters in 2026
Choosing the right heat press is a pivotal decision for crafters and small business owners in the USA, as it dictates the types of products you can create and the efficiency of your workflow. The landscape of sublimation equipment offers various solutions, each with its own advantages and limitations. Making an informed decision involves weighing factors like size, versatility, ease of use, and overall investment, ensuring your chosen machine aligns perfectly with your creative and commercial aspirations.
Comparing the Tumbler Heat Press to Alternatives
When considering a dedicated tumbler heat press, such as a PYD Life model, it’s beneficial to compare it against other popular methods like the Cricut Mug Press or even a convection oven setup. A dedicated tumbler press is often larger and heavier, sometimes weighing around 27 pounds, providing a robust and stable platform for continuous use. Its primary advantage lies in its ability to accommodate a broad range of blank sizes, including 20-ounce skinny tumblers, which often fall outside the capabilities of more compact machines.
The Cricut Mug Press, by contrast, is significantly lighter and more compact, making it ideal for those with limited workspace. However, it typically fits a narrower range of blank sizes and may not provide sufficient pressure or closure for popular 20-ounce skinny tumblers. While the Cricut is praised for its plug-and-play simplicity, foregoing manual temperature and time settings, the dedicated tumbler press offers more control, allowing for precise adjustments tailored to specific blanks and inks. A convection oven provides the ultimate versatility for irregular shapes and multiple items simultaneously but requires a more involved wrapping process with silicone wraps or shrink sleeves. Ultimately, the choice hinges on your specific needs: do you prioritize ease of use for a limited range of items, or greater control and versatility for a diverse product line, potentially with a steeper learning curve?
Troubleshooting Your Sublimation Results
Even with the most meticulous preparation, challenges can arise in sublimation, leading to results that fall short of expectations. Addressing these common issues methodically is key to refining your technique and achieving consistent, professional-quality transfers. Understanding the root cause behind each flaw empowers crafters to make targeted adjustments, saving time, materials, and frustration.
If colors appear too light, it often signals insufficient heat, uneven pressure, or inadequate pressing time; increasing one or more of these factors might resolve the issue. Conversely, a vague or blurry picture typically suggests the pressing time was too long, causing the ink to spread excessively, requiring a reduction in duration. Should colors lack their expected brightness, it could be a sign that both temperature and pressure were set too high, potentially dulling the transfer. Inconsistent sharpness or colors point to uneven heat distribution or pressure across the tumbler surface, or even imperfections in the blank itself. Lastly, if the sublimation paper adheres stubbornly to the tumbler, the temperature might be excessively high, or the tumbler’s coating could be of lower quality. Systematically adjusting one variable at a time allows for precise identification and correction of these common errors, paving the way for flawless custom drinkware.
Elevating Your Craft: Sourcing Premium Tumbler Blanks in the USA
The integrity of your custom tumblers is as much a function of the blank itself as it is of your sublimation technique. Opting for high-quality blanks is a strategic decision that underpins the success and longevity of your creations. In the competitive American market, where consumer expectations for durability and finish are high, compromising on blank quality can quickly erode the perceived value of your personalized products.
Why Quality Blanks Matter for Lasting Impressions
A superior sublimation blank provides a smooth, uniform polymer coating that is essential for a clean and consistent ink transfer. Lesser quality blanks often feature uneven coatings or subtle surface imperfections that can lead to blotchy colors, faded areas, or incomplete transfers, even when your heat press settings are perfectly calibrated. These inconsistencies manifest as a lack of vibrancy and sharpness, diminishing the overall aesthetic appeal of the finished product. Investing in premium blanks ensures that the time, effort, and creativity poured into each design are accurately reflected in a flawless, durable final product, capable of withstanding daily use and repeated washes without degradation.
Top Recommendations for 20 oz Skinny Tumblers
For crafters and small businesses in the USA seeking reliability and excellence, suppliers like The Stainless Depot Company offer a compelling selection of high-quality blanks. Their 20-ounce skinny tumblers, specifically engineered for sublimation, exemplify the standards needed for professional results. These tumblers often feature double-wall vacuum insulation, keeping beverages at their desired temperature for extended periods, a sought-after characteristic by consumers. Constructed from durable 304-grade stainless steel and equipped with BPA-free straws and lids, they promise longevity and safety. Furthermore, reputable suppliers frequently offer wholesale pricing and additional discounts for bulk purchases, presenting a cost-effective solution for scaling production without compromising on quality. Beyond sublimation, these versatile blanks are often suitable for other customization methods, including epoxy, UV DTF, laser engraving, and vinyl applications, making them a foundational element for any diverse crafting enterprise.
What are the ideal heat press settings for a 20 oz sublimation tumbler?
While specific settings can vary slightly by equipment and blank manufacturer, a common range for 20 oz sublimation tumblers in a heat press is 350°F to 380°F (175°C to 195°C), with firm, even pressure. Pressing typically involves two cycles of 45-50 seconds each, rotating the tumbler 180 degrees between presses to ensure a full, even transfer.
What size sublimation paper is needed for a 20 oz skinny tumbler?
For a full-wrap design on a 20 oz skinny tumbler, common sublimation paper sizes used are 8.5
Can I save money by purchasing tumbler blanks in bulk in the USA?
Yes, purchasing tumbler blanks in bulk is a highly effective strategy for reducing costs, especially for small businesses and avid crafters. Many reputable US-based suppliers, such as The Stainless Depot Company, offer significant wholesale discounts on larger quantities, leading to a lower per-unit cost and improved profit margins on custom products.
How do I prevent common issues like ghosting or faded colors during sublimation?
To prevent ghosting, ensure your sublimation design is taped extremely tightly to the tumbler, preventing any shifting during pressing. For faded colors, verify that your temperature settings are correct (not too low), your pressure is firm and even, and the pressing time is adequate. Using high-quality sublimation paper and ink also contributes significantly to vibrant results.
Are specialty tumblers (e.g., glow-in-the-dark) pressed differently than standard ones?
Generally, specialty tumblers like glow-in-the-dark, heat-color-changing, or UV-color-changing blanks follow the same sublimation heat press process and settings as standard 20 oz skinny tumblers. The unique properties are inherent in the blank’s coating and do not typically require altered time, temperature, or pressure settings. Always refer to the blank manufacturer’s specific recommendations if available.

